dr.fone - Get Rid of 100+ iTunes Errors
Resolve all kinds of issues related to iTunes instantly using dr.fone – iTunes Repair. As a highly advanced tool, it can repair 100+ kinds of iTunes errors. Simply follow these steps to fix iTunes errors.
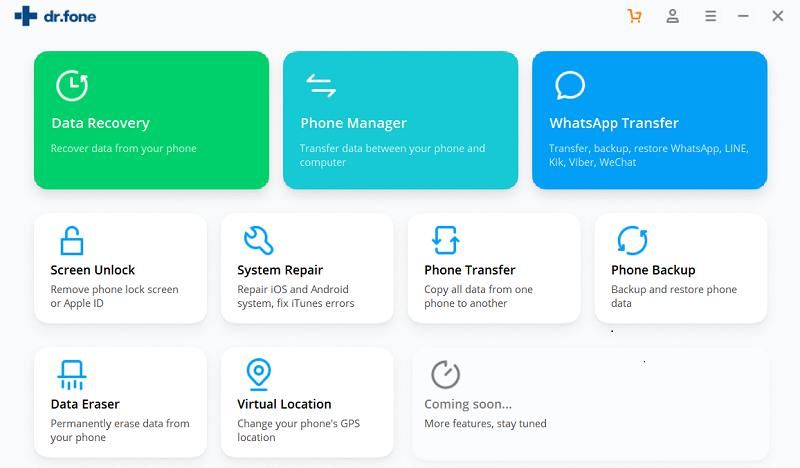
To start with, launch the dr.fone on your computer and from its home, select the “Repair” module. Afterward, go to its left panel and select the “iTunes Repair” option.
Part 1: Repair iTunes Errors
This is the first feature of the application that can fix more than a hundred types of iTunes errors. This includes update errors, startup errors, and other unwanted issues.
Step 1: Select the option to repair iTunes errors
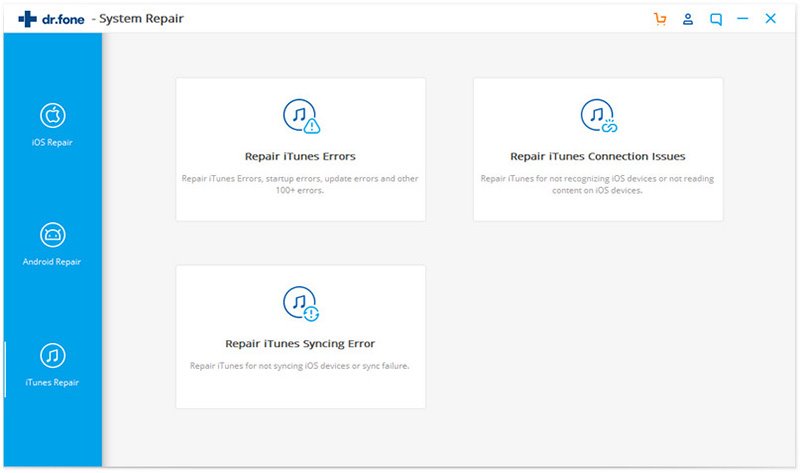
As you would launch dr.fone – iTunes Repair, you will get the following options. Simply click on the “Repair iTunes Errors” feature to fix general iTunes issues.
The application will check all the major components of iTunes and would start fixing them. Simply wait for a while for dr.fone to finish the operation.
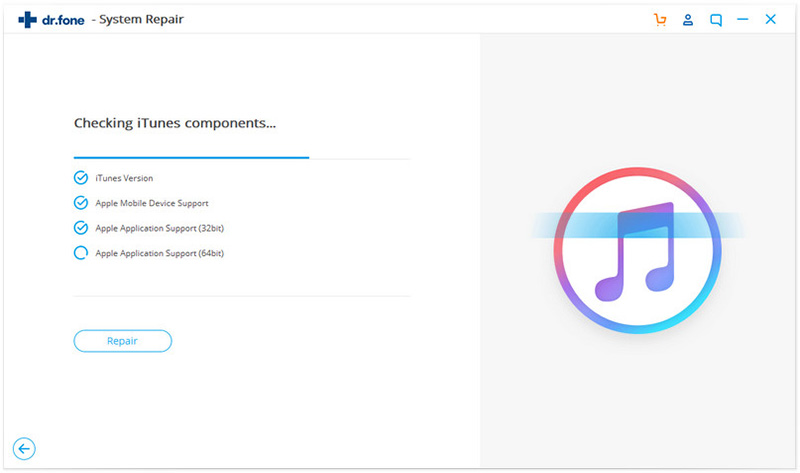
Step 2: Try the Advanced Repair option
After successfully updating all the components, you can check if it fixes iTunes or not. If you are still getting some errors, then click on the “Advanced Repair” option.
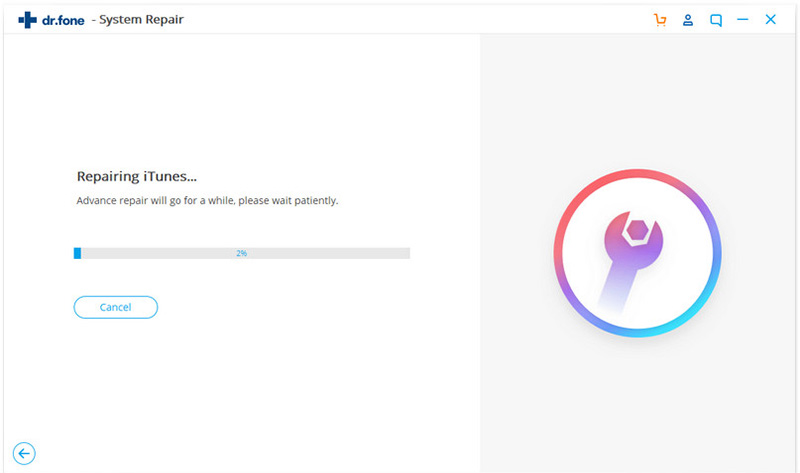
This will make the application perform a more thorough operation to fix iTunes. While it might take more time, the results would also be better.

Part 2: Repair iTunes Connection Issues
Choose this feature if iTunes is not able to detect or establish a secure connection with your device. You can also choose this option if iTunes can’t read the content of the connected phone.
Step 1: Connect your Device
Launch the application and click on the “Repair iTunes Connection Issues”. You will be asked to connect your device to your computer.
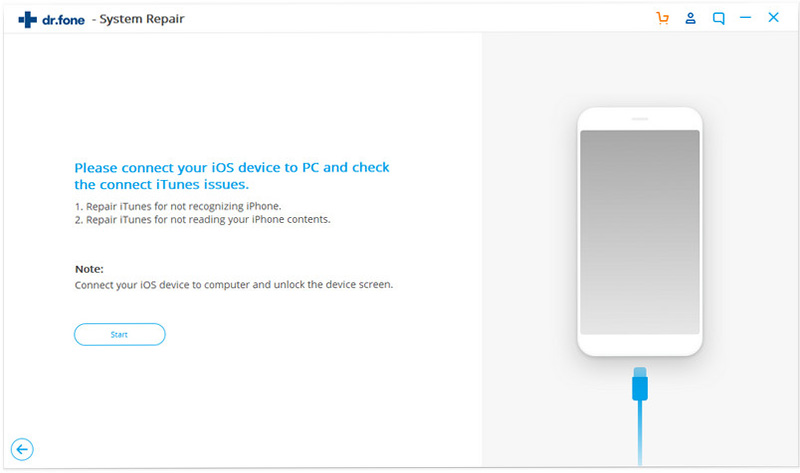
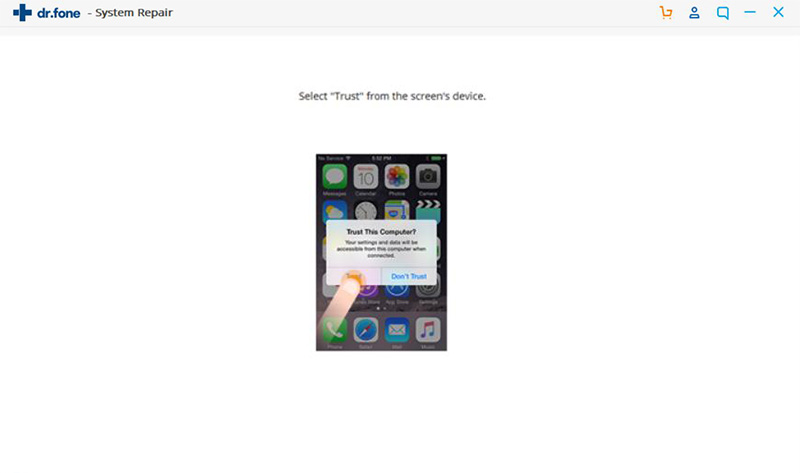
Now, connect your phone to the system using a working cable. You might have to unlock the device and tap on the “Trust” button when you get the “Trust this Computer” prompt.
Step 2: Fix the Connectivity Issue
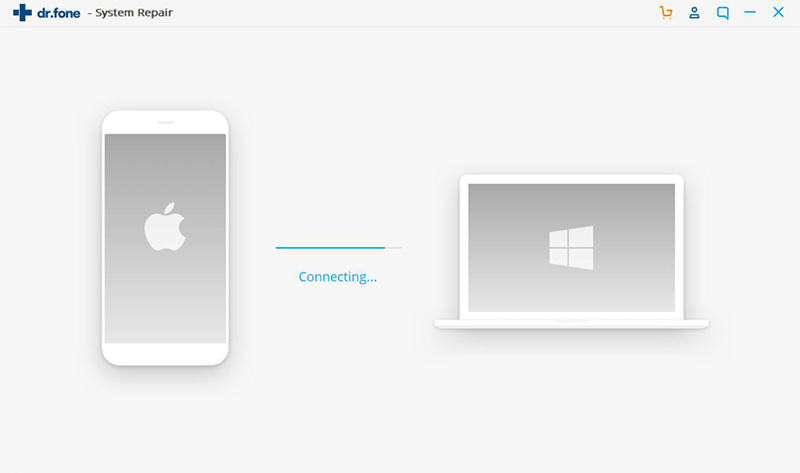
Once the phone is successfully connected, the application will try to resolve the issue. You might have to wait for a few seconds as the tool will try to establish a secure connection.

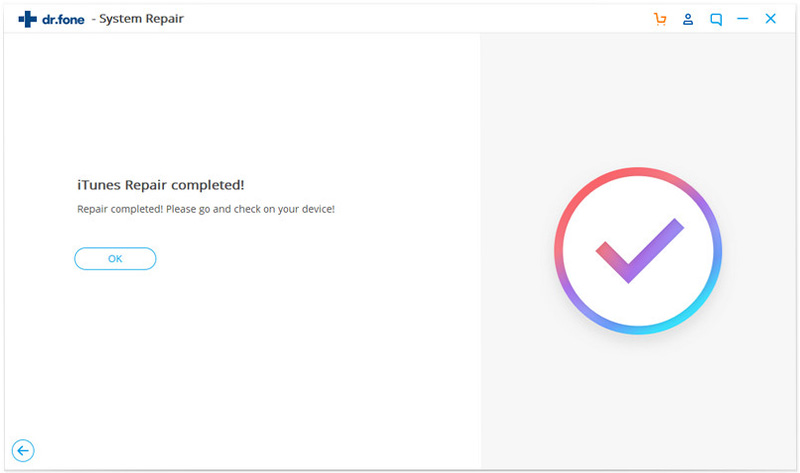
In the end, you will be notified when the device gets successfully connected. You can open iTunes and view the device’s content on it.
Part 3: Repair iTunes Syncing Error
This function is mostly selected when iTunes is not able to sync your device’s content or when a sync failure/error occurs.
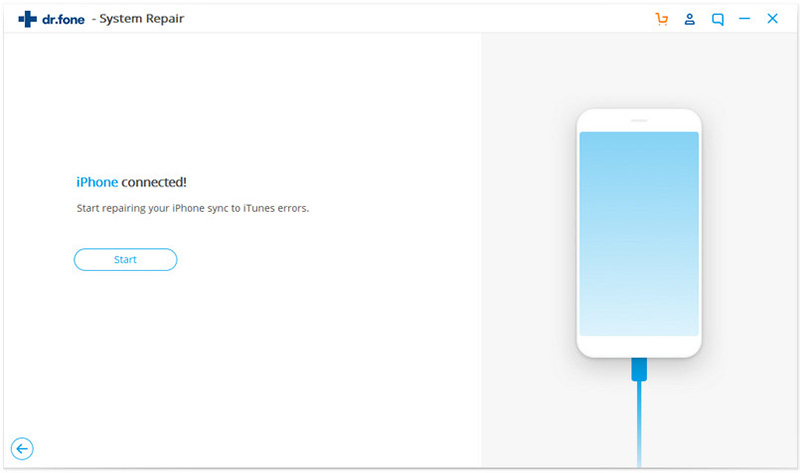
Step 1: Connect your Device
Launch dr.fone – Repair iTunes and from the provided options, choose to repair iTunes syncing error.
Using a working cable, connect your device to the system. In no time, it will automatically be detected by the application. Click on the “Start” button once your device is detected.
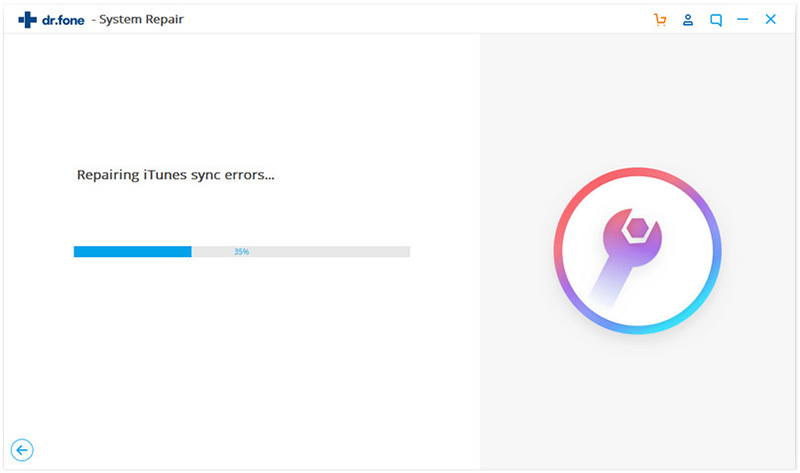
Step 2: Start the Repairing Process
As soon as you click on the “Start” button, the application will commence the repairing process. Simply wait for a while and make sure that your device stays connected to the system.
In the end, you will be notified when the application would be able to repair the syncing issue. You can try connecting it with iTunes again.