dr.fone - Permanently Erase All Data on iPhone/iPad or iPod
In an increasingly digital world, protecting your personal data remains one of the most important parts of privacy protection. The launch of dr.fone-Erase(iOS) offers you a safe and efficient approach to help delete all of data and settings on your iPhone/iPad or iPod permanently and ensure they can never be recovered by any means even under the help of most advanced data recovery tool.
This how-to guide is presented to show you how to delete all of your information on iOS irrevocably before you resell or give away the devices.
Step 1: Set up dr.fone and connect device to PC
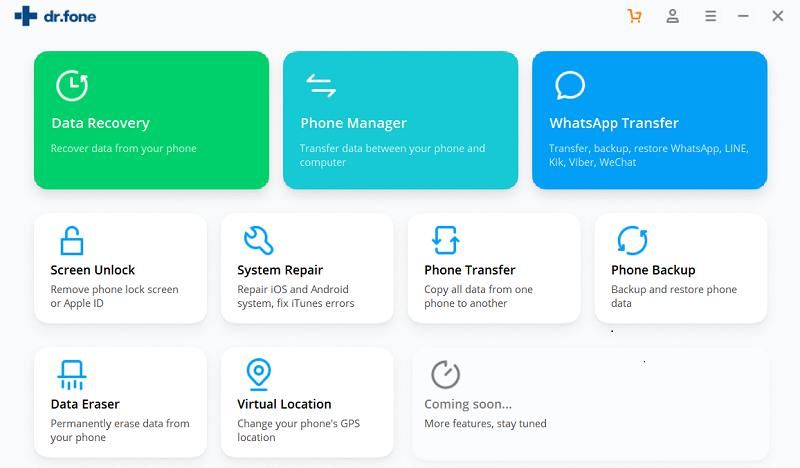
From the very beginning, please connect your iOS device to the PC with a USB cable. After doing this, you need to download and launch the dr.fone on your computer and select the “Erase” option from the main window a shown below.
Step 2: Prepare for erasing data on iPhone/iPad or iPod
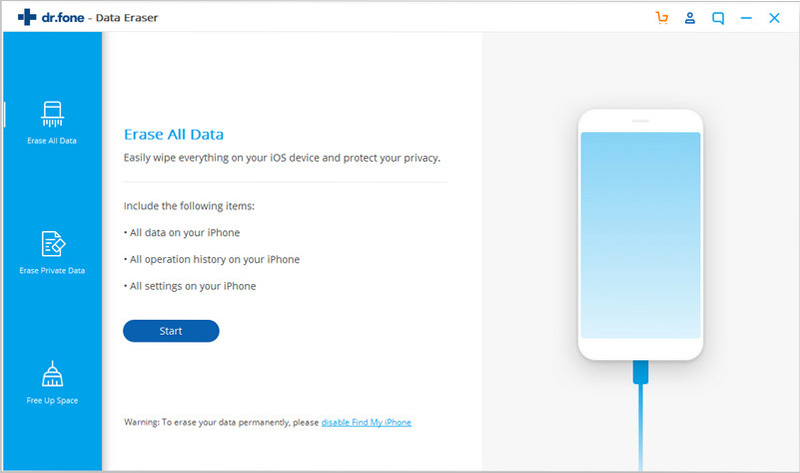
When the program moves on to the next screen below, please choose “Erase All data” option which will delete all the contents and settings from your iOS device.
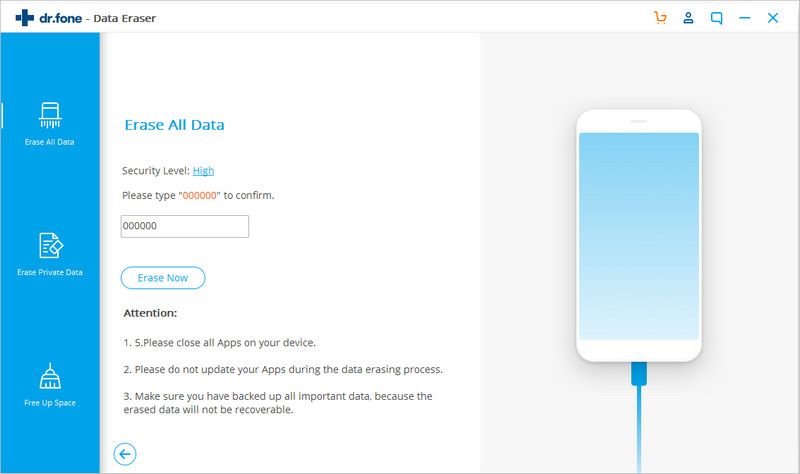
As all of your data and settings will be deleted permanently and won’t be recovered by any means, here in this section you need to confirm the action again by typing in “000000” and then move to tap on “Erase Now”. We suggest you make a backup of your valuable data to computer in case you need them in the future.
Step 3: Erasing all data on iOS is underway
After you agree to erase all data permanently, the program will start deleting everything on your iPhone/iPad or iPod including contacts, messages, call history, reminders, notes, photos, videos, apps, system settings and so on.
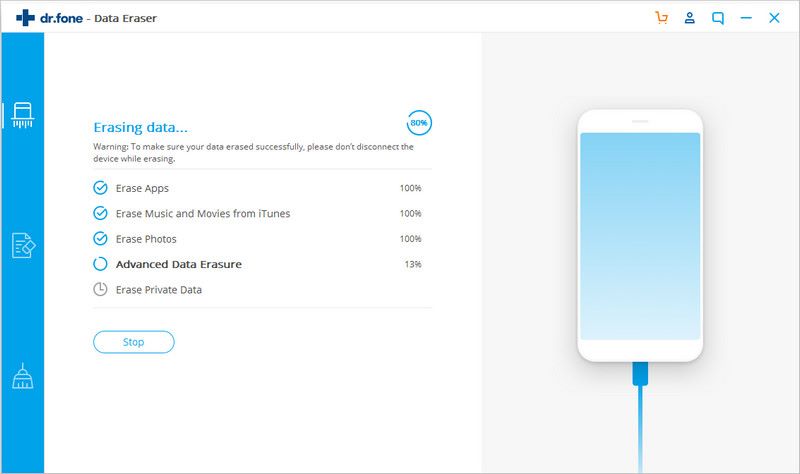
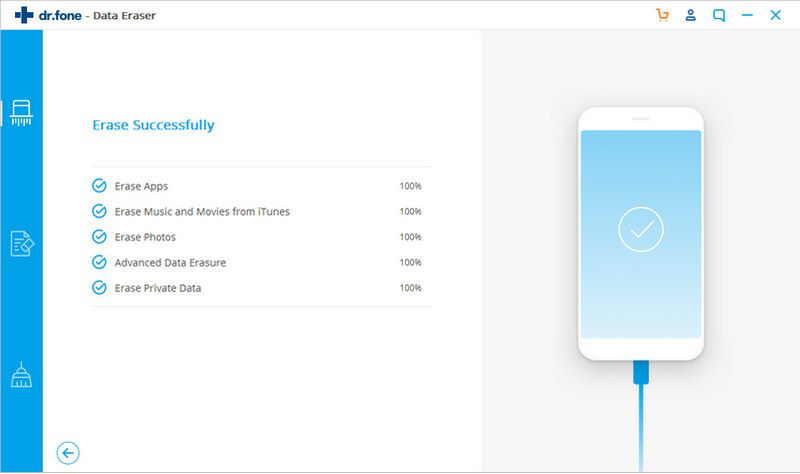
The time it takes to finish erasing all data depends on the amount of contents and settings on your iOS device. After the process is done, the program will inform you noting “Erase Successfully”.
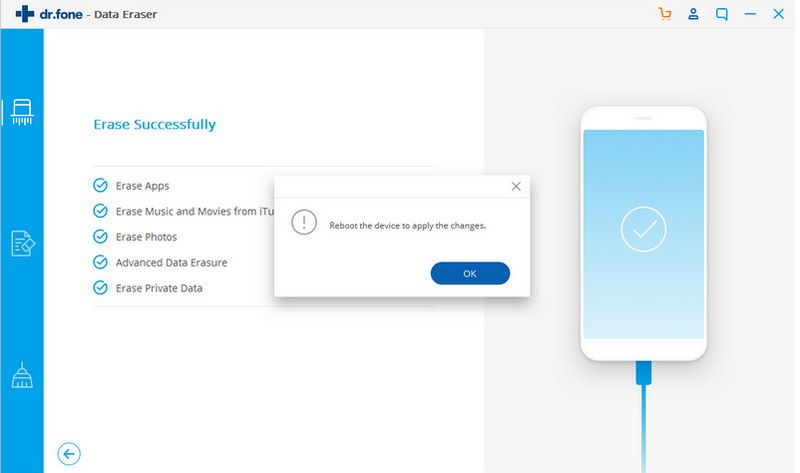
Step 4: Check whether all data is deleted
To guarantee all data has been deleted for good on iPhone/iPad, you can follow the steps above again and see whether all of data folders are empty as shown below.
