Device Firmware Update (DFU) is a situation where a device like iPod interfaces with iTunes but does not load the iOS operating system. This mode is different than the recovery mode because with recovery mode, the latest iOS will be selected automatically by iTunes during the restoration process. Whereas with the DFU mode, a user would have the chance to choose the firmware that they would like use. The DFU mode is signified when the devices' screen show completely black screen. In this article, I will explain you what iPod DFU Mode is and how to use it.
Part 1. How to Make iPod Enter DFU Mode
Usually, a user might want to use the DFU mode if they want to manipulate their iOS devices including iPods. This mode works in the way that it bypasses the current iOS that is currently installed and it will allow you to select the version of iOS that you would like to use. Therefore, the DFU mode is preferred by users in upgrading or downgrading their firmware. Other reasons that might prompt a user to enter into DFU mode is if they would like to jailbreak an iPod or to reboot their tethered jailbroken iOS devices. Follow the steps below to enter into DFU mode (for iPod touch):
Step 1. Connect iPod to Your Computer and Turn It Off
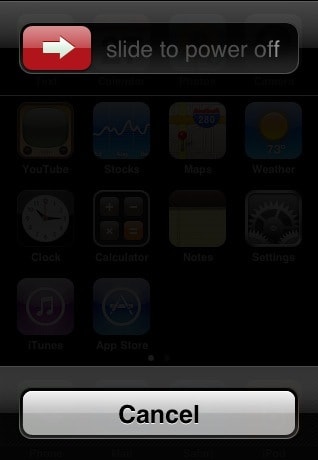
Start by plugging in your iPod by using a cable to your computer. Then launch iTunes and turn off your device by holding the Power button. After a while, a slider will appear; simply slide the device off.
Step 2. Initiate DFU Mode
Next, hold the Power button for about 3 seconds and then begin holding down the Home button without releasing the Power button. After about 10 seconds, release the power button whilst the "Home" button is being held down until a pop up window appears and informs that the iPod is in recovery mode.
You now have entered the DFU mode. Please note that the screen should be black during DFU mode.
Part 2. How to Get iPod out of DFU Mode
There are few ways that you can opt to in exiting your iPod from the DFU mode. The simplest way to exit a DFU mode is by holding the Power and Home button at the same time; similar to the way how an iPod is forced to restart. Try to restart the device again if the first attempt does not work. Somehow, if you are still stuck in DFU mode after several attempts, you can opt for one of the following options:
Method 1. Restore Your iPod to Factory Settings
You can restore your iPod to factory settings as per below steps; however, this action will delete all of your data and files.
Step 1. Connect Your iPod to the Computer
Once the device is connected, the iTunes should launch automatically. You can launch the program manually, if iTunes does not start immediately.
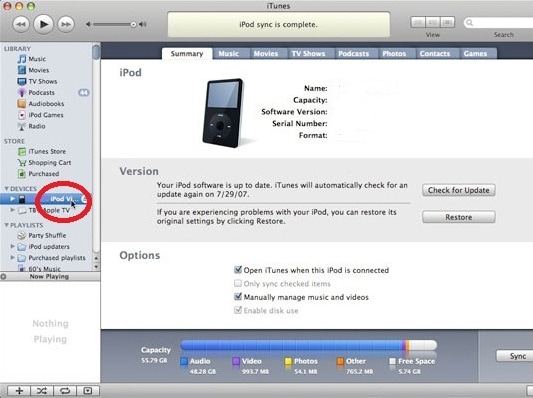
Once iTunes is launched, you would be able to locate your devices connected with the app. Thereafter, select your iPod accordingly.
Step 2. Restore Your iPod
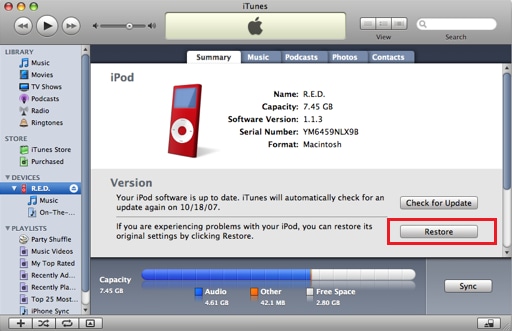
Finally, locate the "Restore" button which can be found under the "Summary" panel and click on it to initiate the restoration process. Another window will appear to seek your confirmation on your action. Select "Restore" and the process will start promptly.
Kindly take note that after the iPod is restored to its factory settings, you will have to follow the Setup Assistant as would be shown during new device setup.
Method 2. Using iSkysoft Toolbox for iOS
If you worry about the possibility of losing your files while trying to get your iPod out of DFU mode, worry not as there is an option for you to try to fix the issue whilst ensuring all your data remain intact. You can use a powerful program like the iSkysoft Toolbox for iOS software in exiting DFU mode.
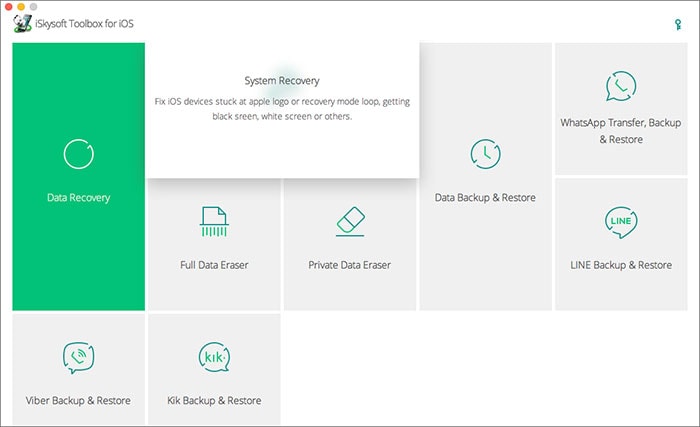
Step 1: Firstly, initiate iSkysoft Toolbox and in the screen that appears, simply click on the "System Recovery" button which can be found at the top. Thereafter, use a cable to connect your iPod to your computer and click on the "Start" button.
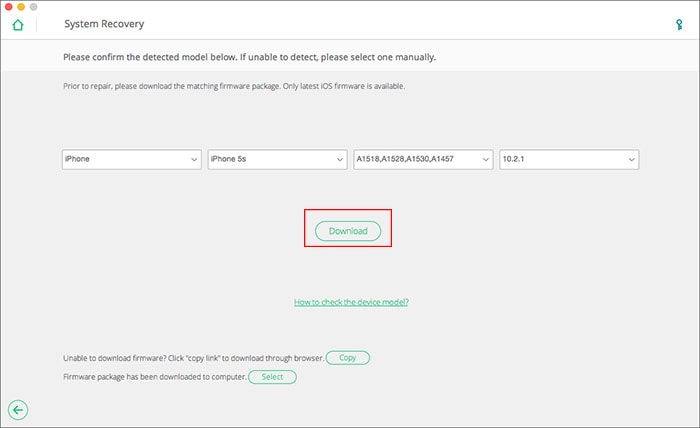
Step 2: Next, download the iOS of your choice manually. In another window that will pop up, click the "Download" button to get the firmware. iSkysoft Toolbox will list the latest firmware that is available for download and you can choose accordingly.
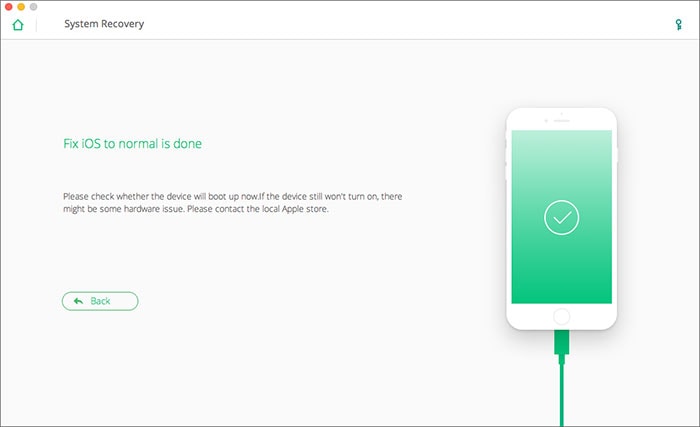
Step 3: After the firmware download process is completed, the program will proceed to repair your device. Once done, the program will prompt you and inform that your iPod is working.



Any Product-related questions? Tweet us @iSkysoft to Get Support Directly